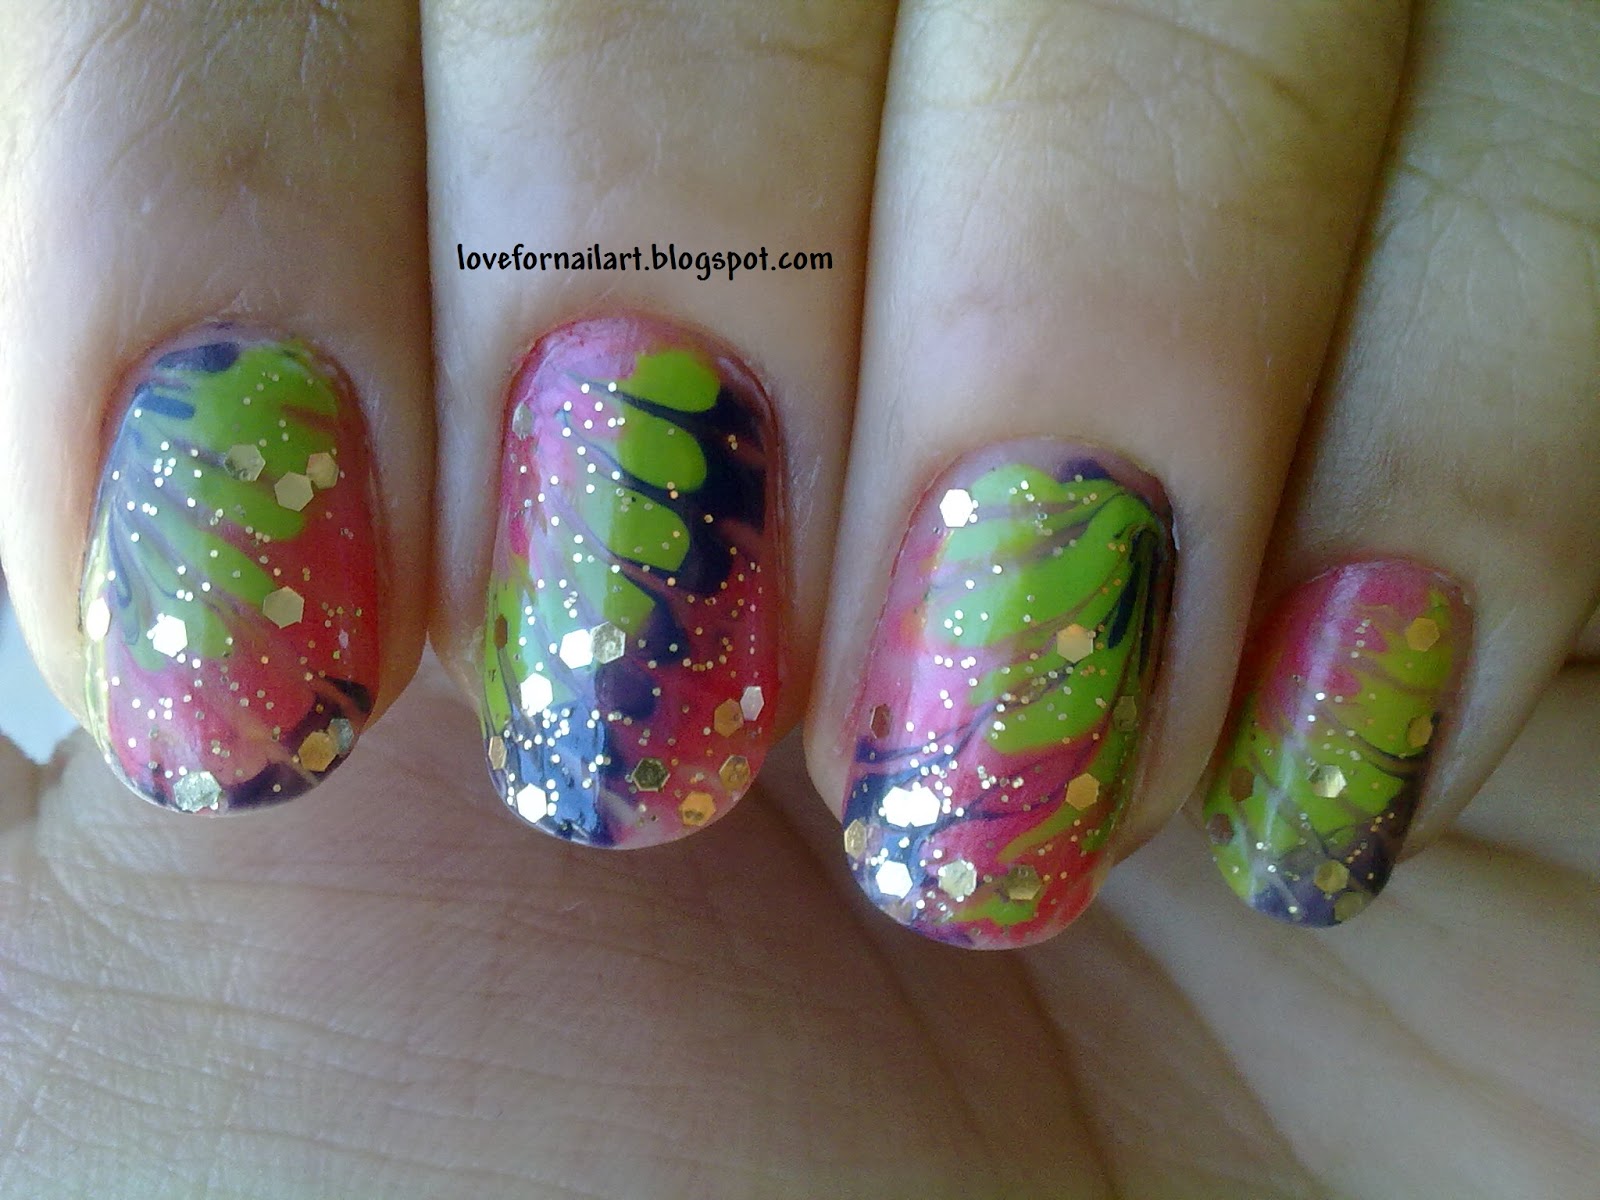
Hello Girlies!! Here is my first nail art challenge post ever...yayy!! This is a Tri polish challenge by the
Crumpet's nail tarts. Every month there will be 4 posts. The rule is that each month, 3 colors are named and the participant has to do the manicures only using those colors for the entire month ie., 4 posts. For more details and the rules see
here. This month's colors are green, purple and coral. I chose these bottles and have to stick to these for the entire month:) . But, some glitters, black etc are allowed :). I loved the outcome of my first design and I am entering this in
Lydia's spring themed nail art contest.
So here is my design for the challenge. I used the needle marbling technique here. Hope you like it :)
I used..
First apply a base coat and let it dry,. Then apply all the 3 colors as shown. Using a needle or marbling tool, start creating lines by dragging, so that all the lines intersect in one corner of the nail. Clean the cuticle area with a cotton bud dipped in nail polish remover. Apply a glitter polish and a top coat and done:)!!!
Some tips : 1. The result entirely depends on the thickness of the nail polish coat you apply. If you want to
get the feathery look as shown on my middle finger, you need to apply thin coats of nail polishes.
2. If you want to get the water marbling like effect as on my ring finger, you need to apply thick coats of your polishes.
3. You have to work while the nail polish is still wet.
4. To avoid smudging, clean your marbling tool or needle after dragging each line. So keep a tissue paper by your side while working.
Don't forget to leave your comments and do join me for more updates :)!!
So, lets see what other participants are in store for you and me :)!!!